This blog post contains affiliate links. This means I may earn a commission if you choose to sign up for the product.
If you were to ask me 8 years ago when I started my career as a photographer if I would one day be editing photos with artificial intelligence, I would have looked at you with a blank stare and told you to lay off the sci fi movies. Yet here I am, writing the intro paragraph to a post about how AI has changed the game for me when it comes to editing my photos.
I started using an AI editing software called Luminar Neo last year because I saw how quickly it could speed up my workflow. It's really important to me that I get the final images back to my clients as quickly as possible, and now that I don't have to individually retouch each image in Photoshop, I can get clients back their images in a day or sometimes even hours after we shoot.
Now I will say that Luminar hasn't completely replaced Photoshop. If I'm doing an editorial shoot or an ad campaign, I will always use Photoshop because I get very detailed in my editing process for those types of shoots. Some of the cases where I have really leaned on Luminar are headshots, musician shoots and some lifestyle content.
I wanted to share with you a few of my favorite features of Luminar that I love using when I'm editing portraits.
Visit the Luminar Neo site here.
Save 10% on Pro or Explore yearly or lifetime options by using code “LORD”
The Portrait Section
Luminar Neo uses artificial intelligence to automatically analyze the image and detect all the parts of the face in your image. That means all you have to do is adjust a slider and it will automatically enhance whatever feature that you're wanting to edit. This will save you a lot of time from having to mask out each individual part of the face in Photoshop like you normally would.
In my experience with this feature, subtlety is of utmost importance. I rarely push any of the sliders past 30. Things can look way too edited very easily and can result in a pretty cheesy image. I think every professional photographer is guilty of over editing their photos in the early days of his or her career and thinking it looks so cool. My suggestion to you is that a little goes a long way.
My absolute favorite part of this feature is that once you get the settings dialed in on your photo, you can just copy and paste the adjustments across the whole shoot. I can’t tell you how many hours this saves me on retouching each portrait by hand. This feature alone is enough to justify the cost of the program because it saves me so much time.
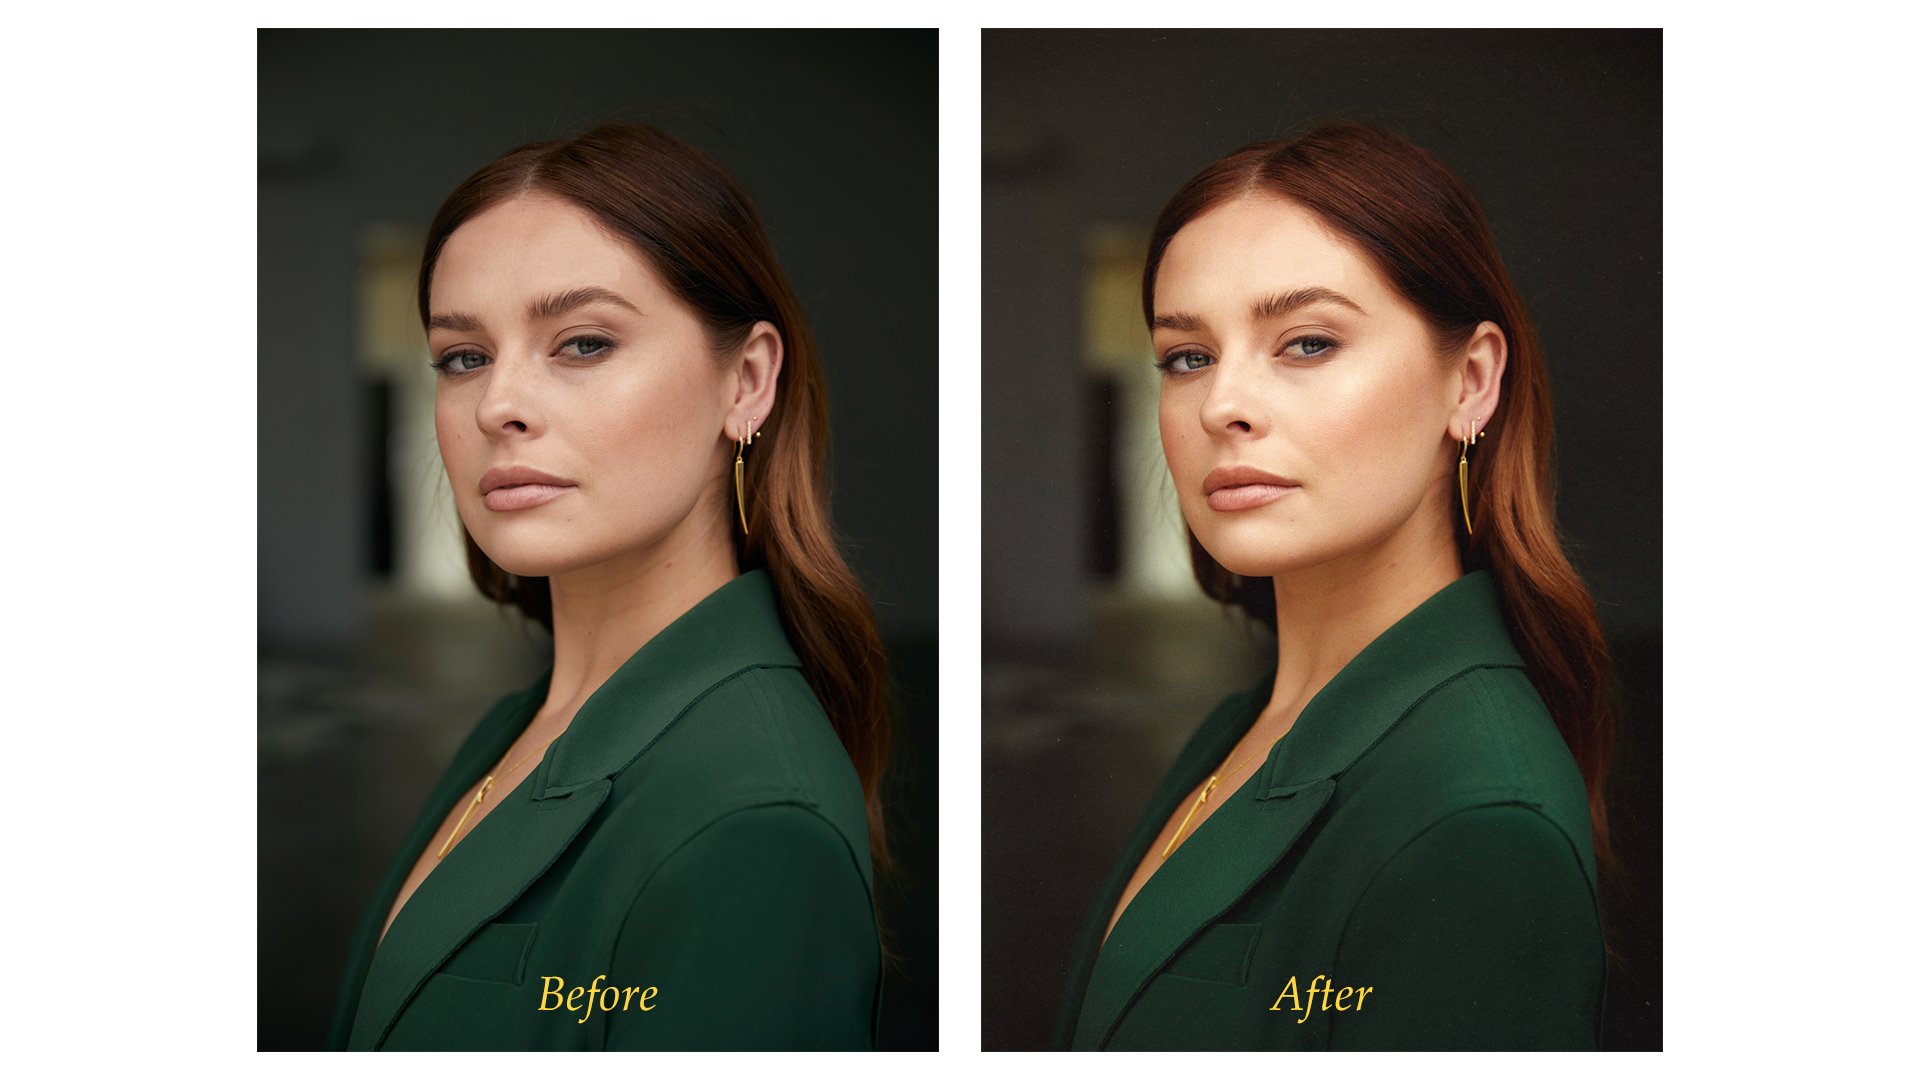
In the image below, you can see the before and after using the portrait editing section as well as all the adjustments that I made.
Before “Portrait” edits
After “Portrait” edits
Smart Enhance
The smart enhance slider is one of my favorite features of Luminar Neo. It automatically balances the image a way that's incredibly pleasing to the eye. In my experience, it really brings out details in the highlights and shadows without making the image look flat. There is also some sharpening that gets add that really makes the image pop. My recommendation with smart enhance is that same as the portrait section -- subtlety is key. I typically keep this at about 25 or 30 out of 100 because if you go past that, it can look super intense. Each image is different and everyone has different tastes, but that's just how I choose to use it.
Before Enhance
After Enhance
Relight
The relight feature is super cool and one of Luminar's newer features. It took me several years of editing to even think about separating the subject from the background in post so I could adjust the lighting of them separately. The relight feature does just that. Once again, using sliders I can adjust the lighting of the subject or the lighting of the background. In the image below I bring down the lighting of the background just a little bit so that the subject pops even more.
In the image below, you can tell I just barley darkened the background. I chose not to you use the “Brightness Near” adjustment since I already used “Face Light” in the portrait section to make the face pop more.
Before Relight
After Relight
Supercontrast
Super contrast has been really fun to play with. If I wanted to do something like this in Photoshop, I would use a technique called Luminosity masking which allows me to separate all the different tonal ranges of the images onto separate layers so I can make tweaks to the shadows, midtones and highlights individually.
Supercontrast gives you the ability to edit the tonal ranges individually and really opens up the realm of possibility to adding contrast to your image. My personal favorite way to use this tool is to brighten up the highlights a little to really making the lighting on the face of my subject pop. In the image below, you can see that the adjustments I made really added some contour to the subject’s face to make the portrait feel more dimensional.
Before Supercontrast
After Supercontrast
Layers
One of my favorite ways to add some more character and interest to my portraits is by incorporating the use of texture. I always add a little bit of grain into my images, but I also love using paper textures on top of my images and keeping the opacity pretty low. Luminar Neo also comes with a few categories of overlays in the layers section called flares, light leaks, sparklers, and stardust bokeh. In the image below, I added some of my own paper textures and also used one of Luminar's flare overlays to add an extra bit of warmth to the left side of the photo.
Before adding texture using layers and film grain
After adding texture using layers and film grain
Additional Edits
To finish off the image I added one of Luminar’s tonal filters to warm up the image, adjusted the color balance, did some dodging and burning and lowered the exposure of the bottom of the image using a linear gradient.
If you have any questions, please reach out to me by clicking here.
Save 10% on Pro or Explore yearly or lifetime options by using code “LORD”
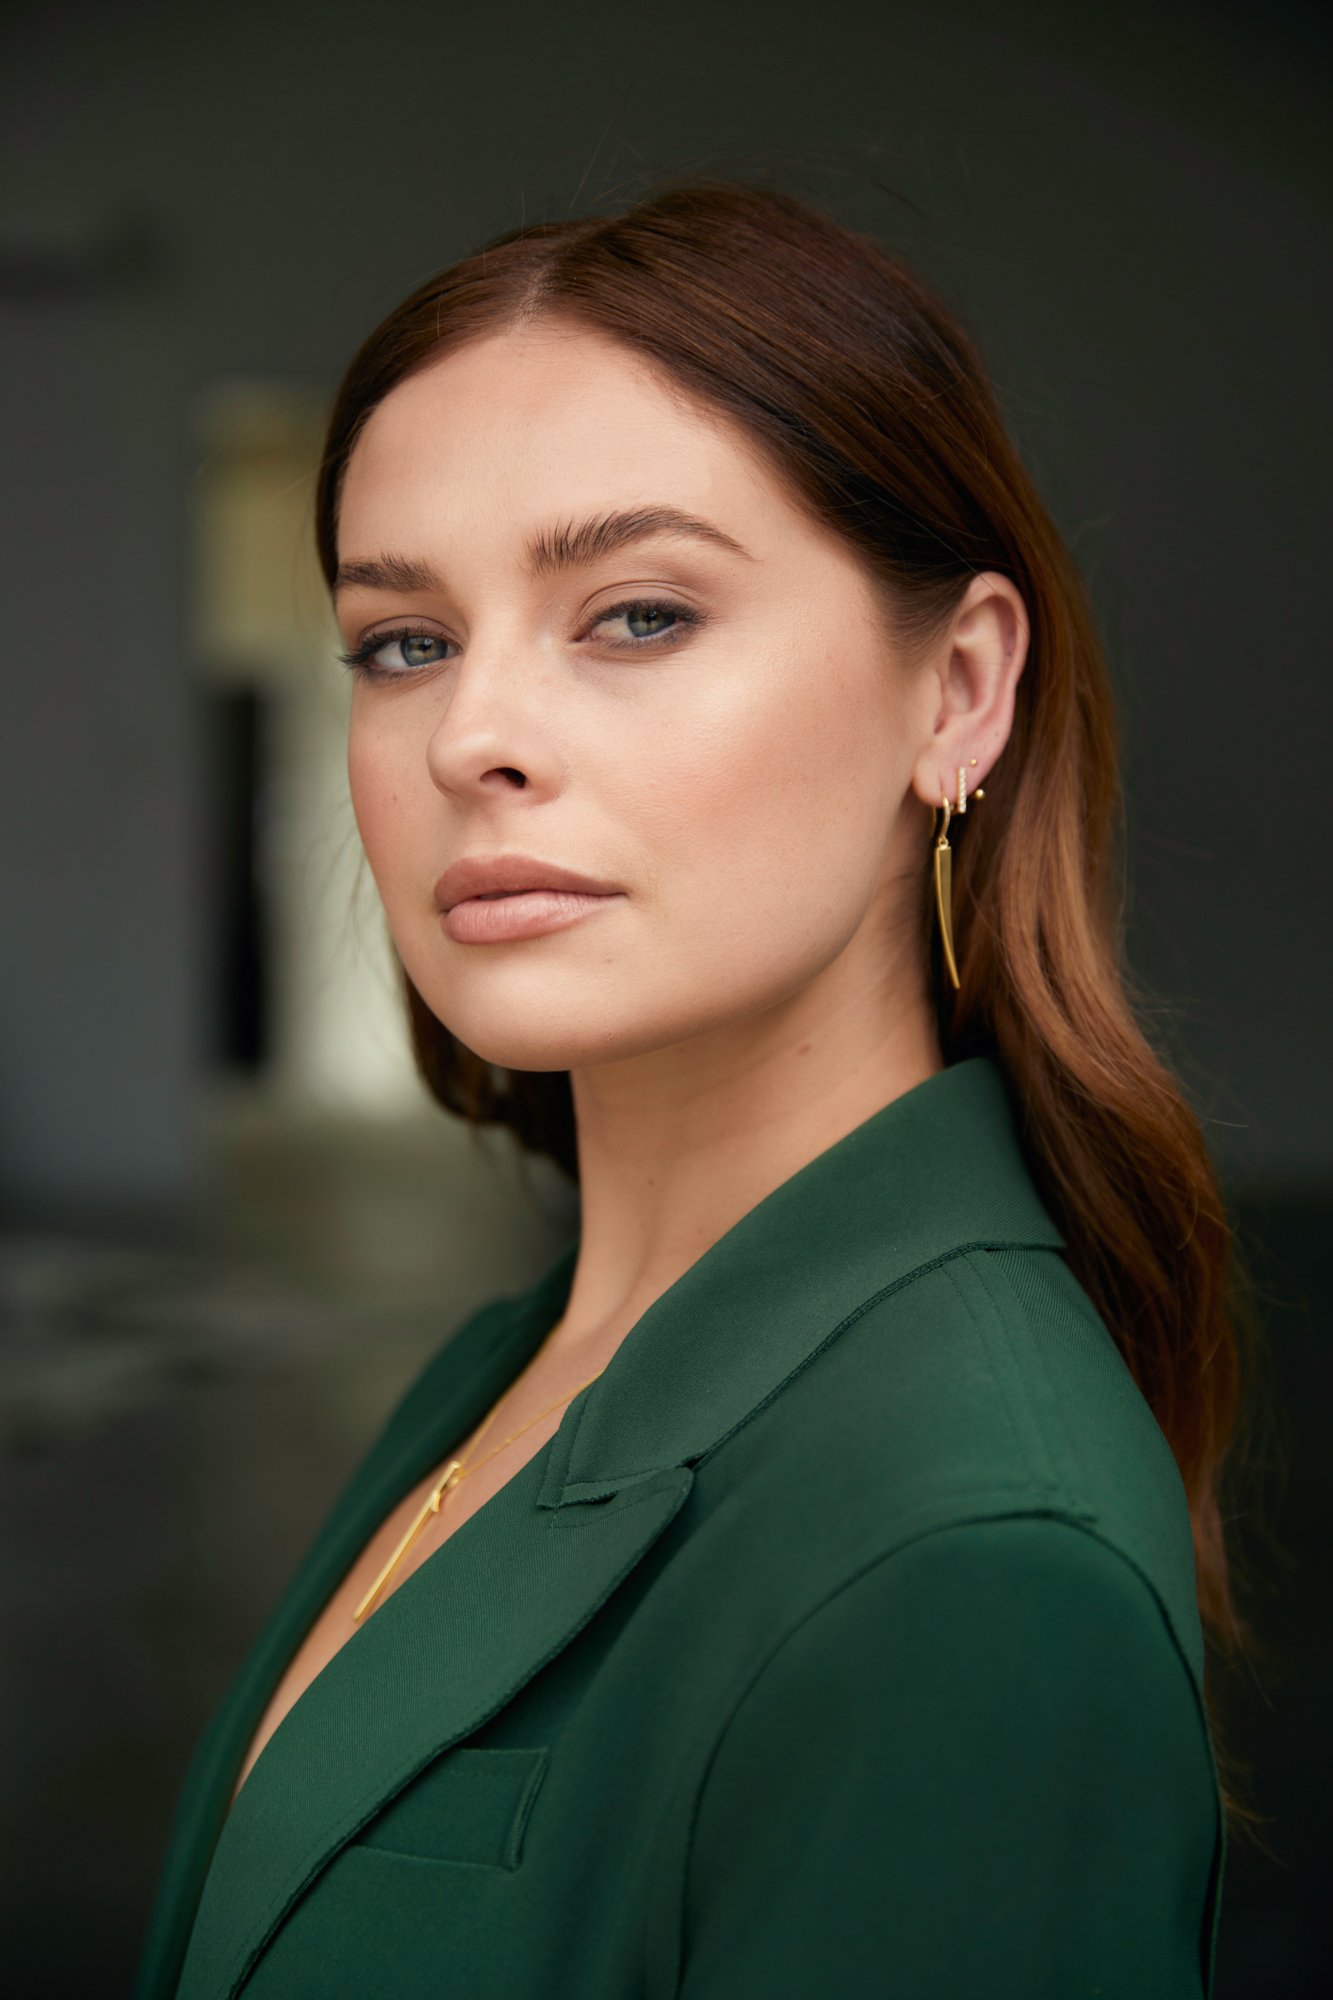
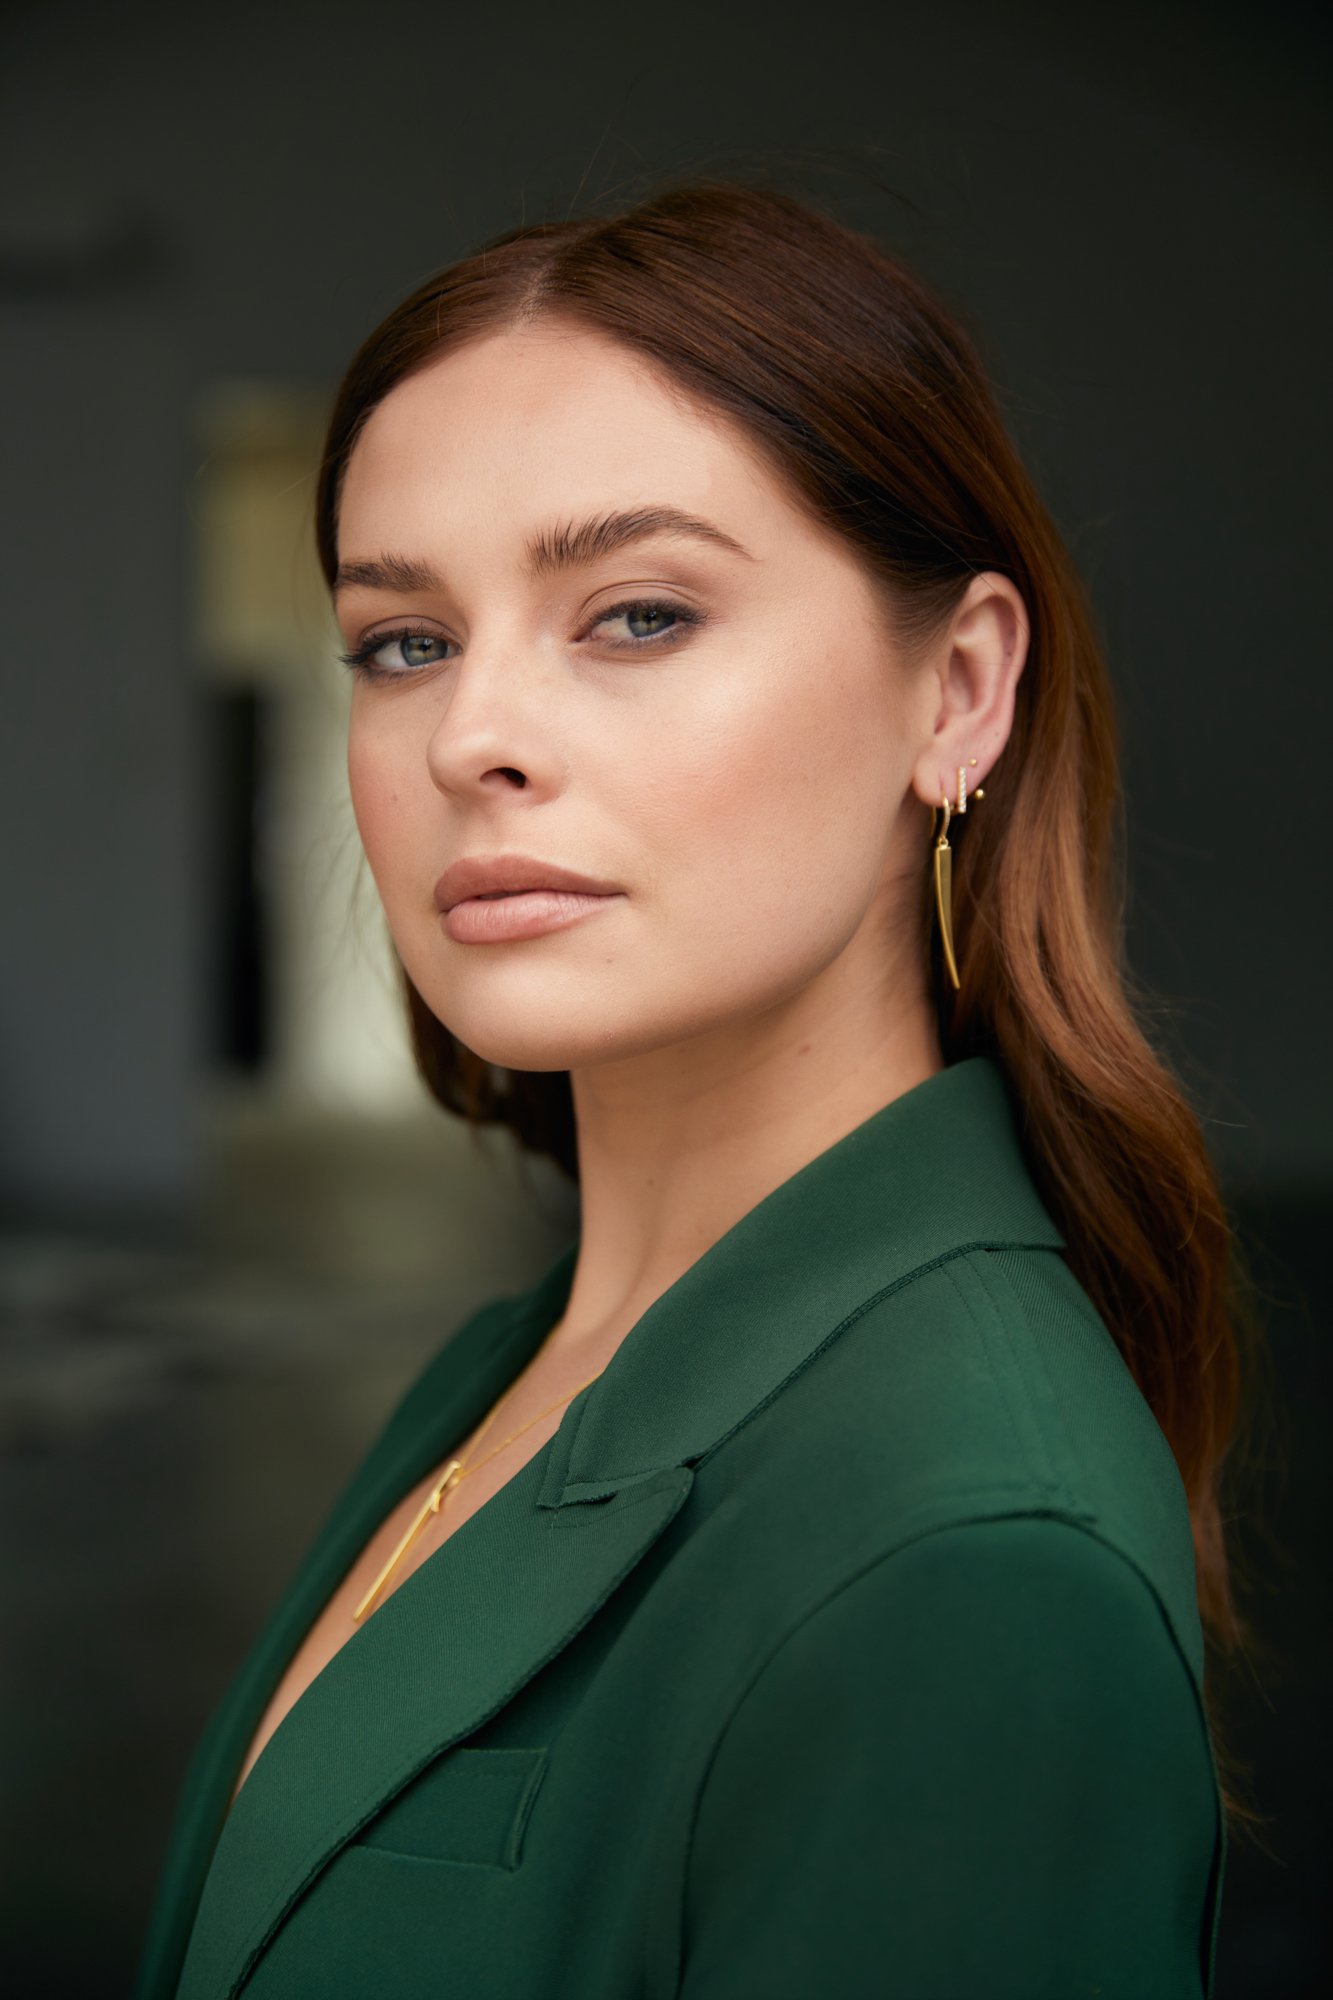
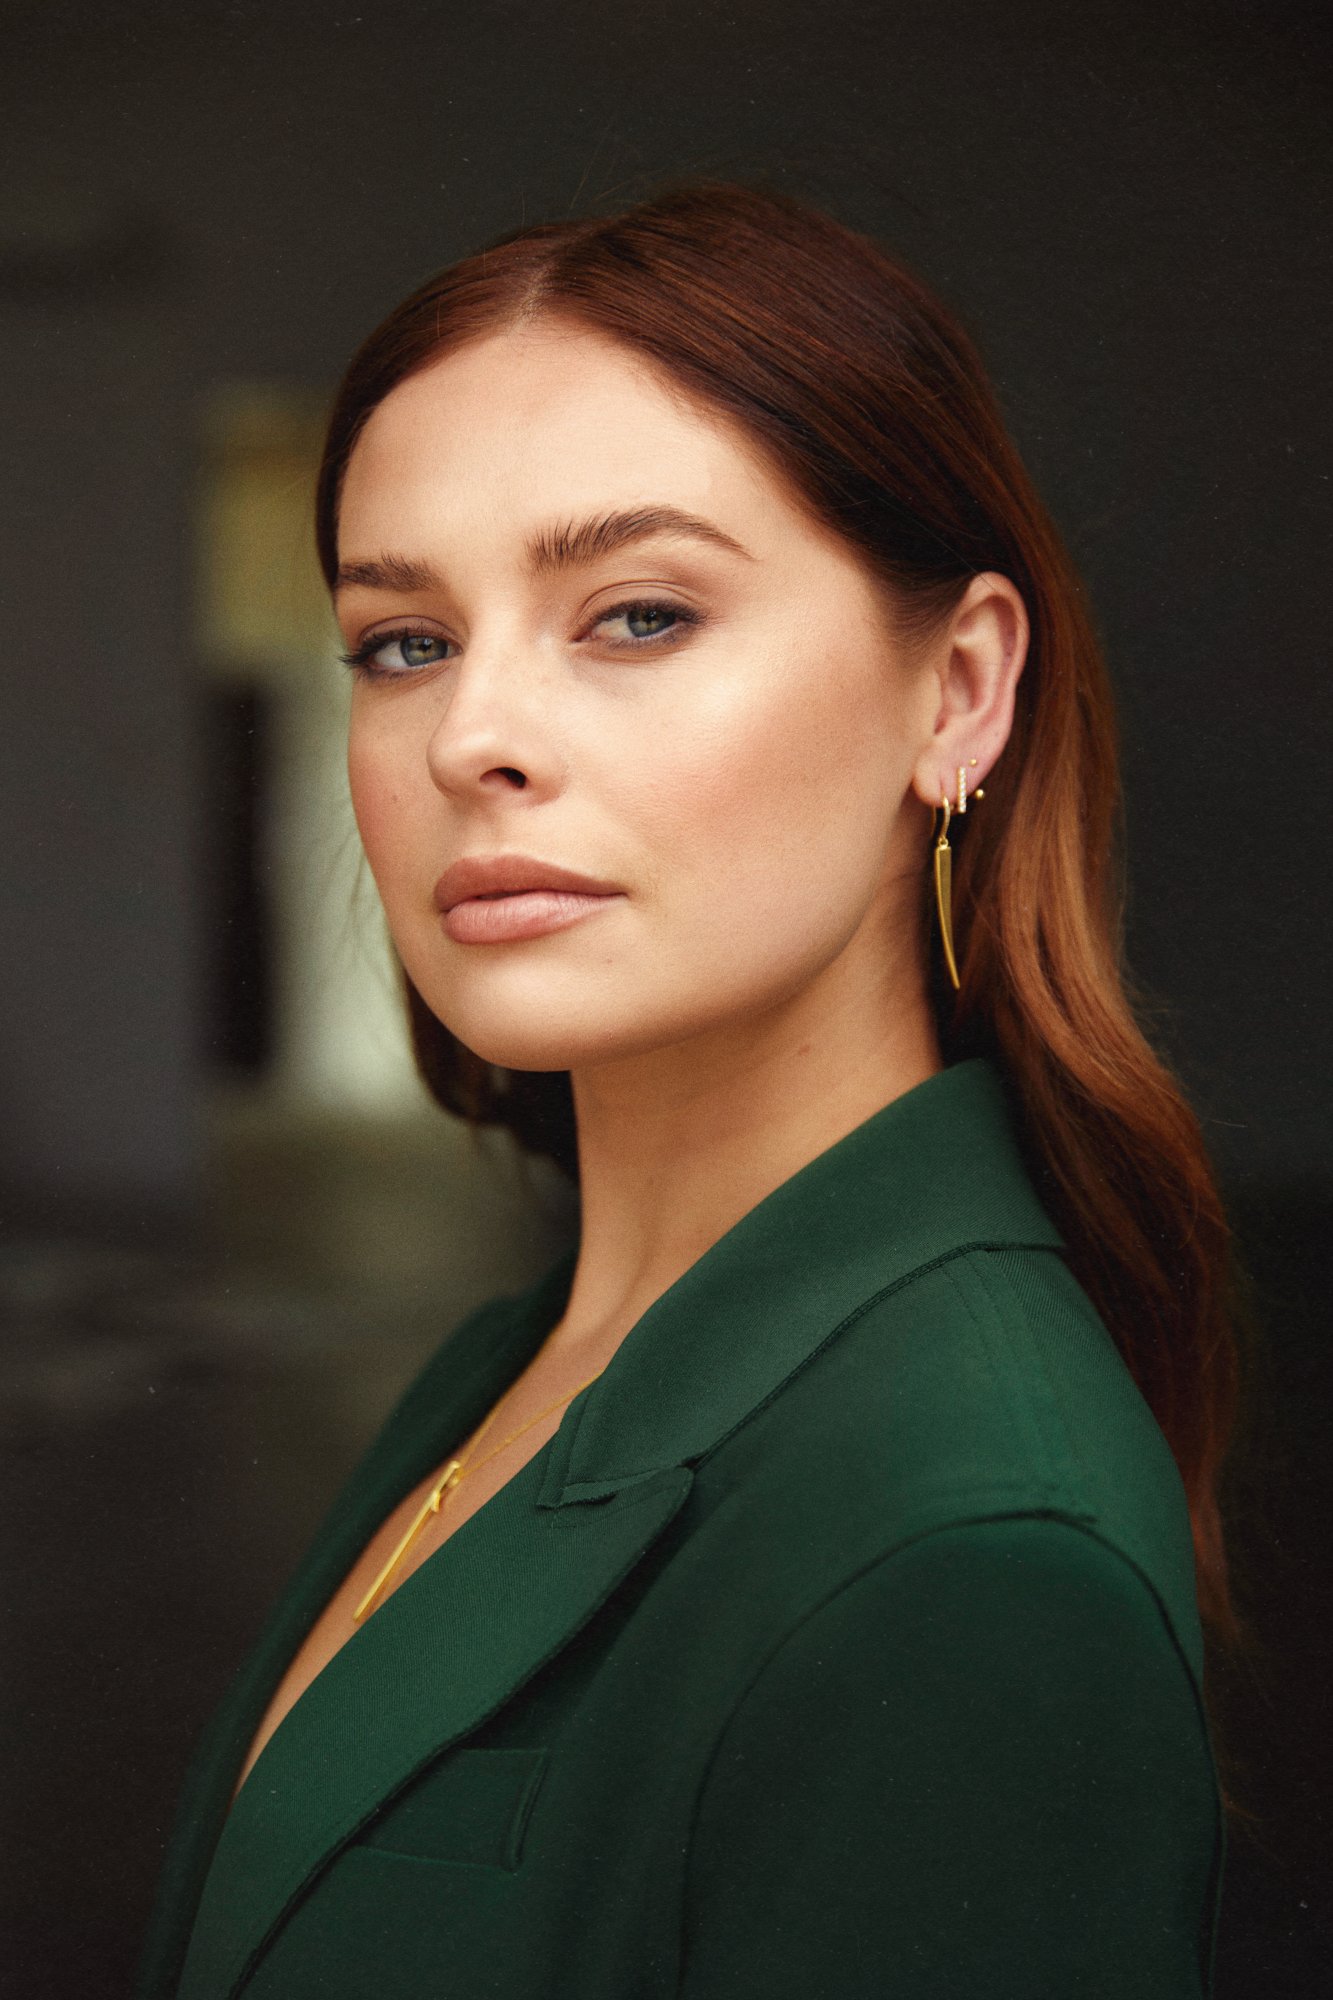
The final edit.
